Ever thought about what it takes to perfectly install a bathtub? Maybe you’re redoing your whole bathroom or just the tub. Either way, knowing the right steps is key. This guide on bathtub installation will help you. It ensures your new tub fits right in and looks great.
Key Takeaways
- Proper preparation is crucial for a successful bathtub install and remodeling your bathroom.
- Getting the right measurements means your tub will fit perfectly.
- Choosing a tub, like alcove or freestanding, depends on your bathroom’s layout and what you like best.
- It’s important to properly attach the tub to the walls and make sure the plumbing works to avoid leaks.
- Using silicone caulk to seal the bathtub helps prevent water damage and keeps your tub looking good longer.
Preparing the Bathroom
Getting your bathroom ready is key for fitting a new bathtub smoothly. You need to follow some crucial steps. These steps make sure your bathroom remodeling goes without any problems.
Shutting off the Water Supply
First, you should turn off the water supply. Find the main valve and shut it to avoid any unexpected water flow. Then, open the tub’s faucet to let out any water left in the pipes. Doing this can prevent water damage later.
Removing Accessories
With the water off, start removing any items connected to the tub. Take off the faucet, handles, and drain parts carefully. If they’re still good, keep them safe to use again.
Gaining Access to Plumbing
When you’re installing a bathtub, it’s important to get to the existing plumbing. You have to be careful to avoid damaging anything.
Removing Existing Tub Surround
The first thing you do is to remove the tub surround. This could mean cutting tiles or taking off panels. If you’re thinking about tub liners later, be gentle to keep the area undamaged.
Accessing Pipes and Wires
Once the surround is off, you need to get to the pipes and wires. You might have to cut the drywall or go in from another room. It’s key not to harm the wires or pipes to prevent expensive fixes later.
A solid plan at this point makes the tub installation go smoothly. Such planning helps make the process more efficient, too.
Selecting the Right Bathtub
Finding the right bathtub for your bathroom requires looking at a few key items. It’s critical to make sure the tub fits your space and works with your plumbing. Follow this guide to choose the best tub for you.
Measuring the Space
Start by measuring your bathroom’s alcove. You need to know the length, width, and height. Check if the tub will fit through the bathroom door. This is important for both alcove and freestanding tubs.
Choosing Between Alcove and Freestanding Tubs
Your main choices are between alcove and freestanding tubs. Each type fits different bathroom styles well.
- Alcove Tubs: These are great for small bathrooms. They fit into three-sided enclosures and are good for space-saving. They also give a seamless look.
- Freestanding Tubs: These work well in bigger bathrooms. They add a touch of luxury and can go anywhere in the room. This allows for more creative layouts.
Think about your bathroom’s drain and faucet setup when choosing a tub. Picking a tub that matches can save you trouble and money. So, whether you go for an alcove or freestanding tub, knowing your bathroom’s layout and plumbing setup helps. This way, you find the tub that fits just right.
Ensuring Proper Fit
Ensuring a proper fit is key in any bathroom remodeling project. A well-fitted tub boosts the look and ensures plumbing connects right. This starts with what’s called dry-fitting the tub.
https://www.youtube.com/watch?v=ziYQaxYQv94
Dry-fitting the Tub
Dry-fitting is like a trial run, putting the tub where it will go but not attaching it. It checks if the tub fits right and that pipes, like the drain and P-trap, match up. You also see if the frame needs work or the tub must be leveled.
Before dry-fitting, make sure you can get to the plumbing components. This means the water and drain lines should be easy to reach.
| Step | Details |
|---|---|
| Positioning | Place the tub in its designated spot in the bathroom, ensuring it aligns with existing plumbing. |
| Leveling | Use a level to check that the tub is perfectly horizontal, making adjustments as necessary. |
| Alignment | Verify that the drain and P-trap fit seamlessly, without any gaps or misalignment. |
| Adjustment Check | Make modifications to the framing or shimming if needed to accommodate a perfect fit. |
Dry-fitting takes time, but it makes installing your tub easier. Your bathtub will be both beautiful and sturdy in your new bathroom.
Installing the Tub
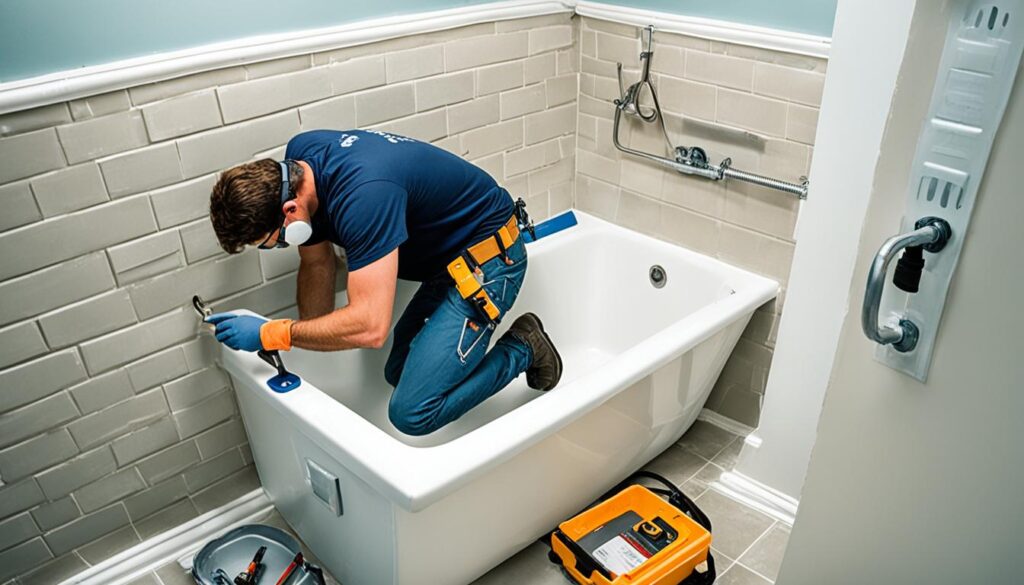
Installing a bathtub takes some important steps. First, you need to correctly set up a ledger board. This helps hold up the tub’s weight. Then, firmly fix the tub to the bathroom walls.
Setting the Ledger Board
Setting up the ledger board is key. It’s a piece of wood that supports the tub’s weight and keeps it stable. You have to measure its height based on the tub’s specs and attach it well to the wall studs.
Securing the Tub to the Walls
Once the ledger board is ready, next is fixing the tub in place. Make sure the tub sits right on the ledger board and is level. Then, use roofing nails or screws to connect the tub flange to the wall studs. The manufacturer’s guidelines will show you how. This is vital for keeping the tub stable and fits into the overall plumbing setup.
Bathtub Installation
To ensure your bathtub installation is a success, focus on the final connections first. After the bathtub is in place, the drain and overflow must be connected to the plumbing. Making sure these are sealed well is key to avoiding leaks and water damage. It’s crucial to do it correctly from the start.

Connecting the Drain and Overflow
Begin with the drain assemblies. Put plumber’s putty around the drain flange to keep it watertight. Make sure to secure the drain with the gasket and drain body that are provided. A snug fit is vital to stop leaks. Then, move on to the overflow assembly. It usually has a gasket, overflow plate, and a connecting pipe. Make sure everything fits tight and is lined up right.
Ensuring Proper Plumbing Connections
Once the drain and overflow are set, connect them to your home’s plumbing. Use the right fittings and pipes to ensure a secure link to the existing drainpipes. Make sure to seal all joints well with plumber’s tape or sealant. This step is crucial for a leak-free plumbing installation.
To finish a top-notch bathtub installation, check all connections thoroughly. Look over the drain and overflow assemblies, and test them with water to see if there are leaks. Paying attention to these details means your installation will last long and work well.
Installing Tub Surrounds and Tile
Installing tub surrounds and tile is key in bathroom remodeling. You must fit and attach the surround panels right to stop moisture and make your bathroom look great. Let’s go over the steps clearly.
Dry-fitting the Surround Panels
First, place the panels around your tub to see if they align well. Getting the measurements and alignment right is critical for a smooth look. Mark where the faucets and showerheads will go on the panels.
Setting and Sealing the Surround
Next, cut holes for the plumbing and set the panels in place. Use silicone caulk for a strong seal that keeps water out. This step keeps your bathroom looking good longer. Make sure the panels stick well to the wall and line up right.
Faucet and Fixture Installation
Faucet installation is key in upgrading your bathroom. It’s important to make sure it fits well and connects securely to the water lines. This guide will help you attach the faucet and handles correctly:
Attaching Faucet and Handles
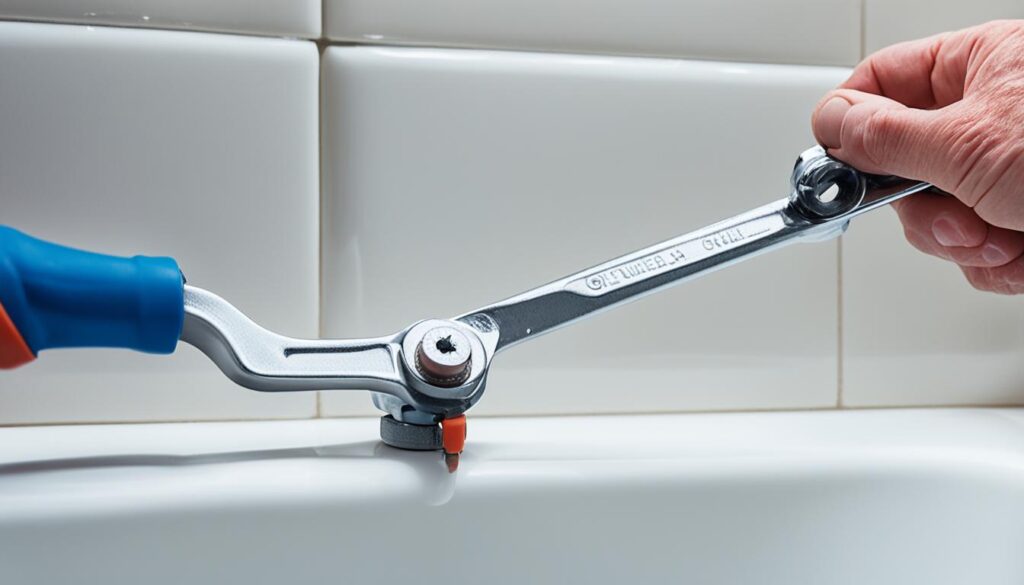
Begin by finding the holes in your tub surround for the faucet and handles. Then, carefully place the faucet in these spots. Next, fasten the handles, making sure each one is tightly screwed in. This step is critical for a leak-free bathroom.
After installing, connect the faucet to the water supply lines. Make sure to check all connections are sealed and working right.

Sealing the Bathtub
It’s key to seal the tub right to stop water leaks and damage. This keeps your bathtub looking good for years.
Applying Silicone Caulk
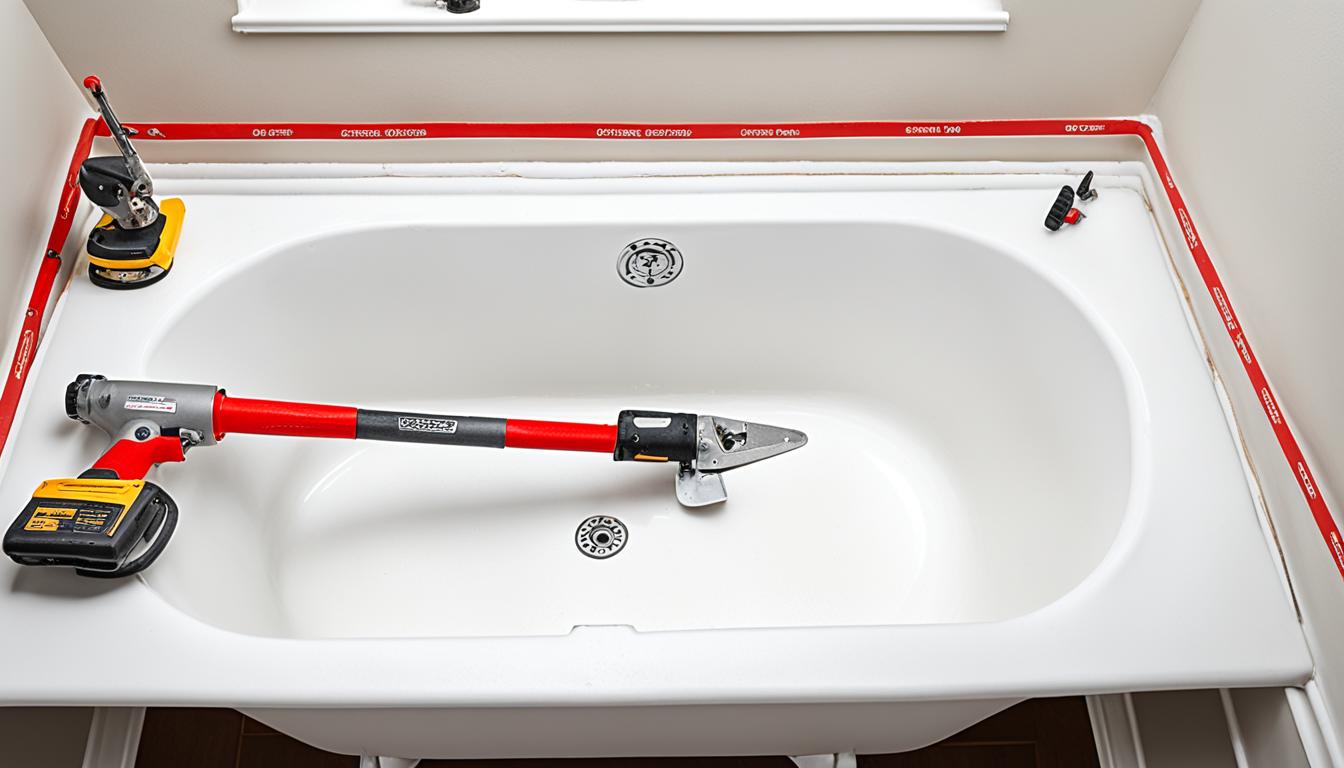
Putting on silicone caulk is crucial for sealing the tub’s edges. Make sure to pick a high-quality caulk for bathrooms. First, clean and dry the surfaces well. Then, cut the caulk tube at a 45-degree angle for precise application.
- Put the silicone caulk tube into the caulk gun.
- Push out a steady bead of caulk along the edges.
- Smooth the caulk with a tool or your finger, filling gaps.
- Wait for the caulk to dry as the maker instructs before using the tub.
Preventing Water Damage
To prevent water damage, pay close attention to the seal. Regularly check the caulk for cracks or signs of wear. Fixing small issues early can stop bigger problems later. Also, proper plumbing work helps avoid leaks.
A careful sealing job keeps your bathtub in top shape. The right caulking method makes it look professional and last longer.
Testing for Leaks and Finishing Touches
As you finish installing your bathtub, checking for leaks is key. Making sure everything is sealed and ready is important. Learn to test for leaks effectively and add those final touches that complete your bathroom remodel.
Conducting a Leak Test
Start testing for leaks by filling the bathtub with water. Keep an eye on it to catch any drip from the connections or drain. It’s vital to confirm everything’s installed correctly to avoid water damage later.
Installing Accessories and Hardware
After ensuring there are no leaks, move on to installing accessories and hardware. You’ll be adding things like showerheads, grab bars, and bath panels. Each addition enhances your bathroom’s look and functionality, wrapping up your remodeling project.
Conclusion
Installing a new bathtub is a big win. It makes your bathroom look great and work better. Not only does it raise your house’s worth, but it also gives you a relaxing place like a spa. This is true whether you’re redoing the whole bathroom or just putting in a new tub. Take each step carefully to make sure your tub is leak-free and lasts a long time.
We’ve walked through every important step in this guide. From getting the bathroom ready and picking the perfect tub to fixing the bathtub in place. We also covered how to put in the surround and the fixtures. It’s really important to fit the tub right and make sure the plumbing is done well. Doing these steps right keeps your bathtub from leaking and prevents water damage. This way, your bathtub will be good for many years.
Starting a bathroom remodel? Keep in mind how important it is to plan well and do things right. The time and care you put into it now will make your bathroom nicer for years. A well-installed bathtub turns your bathroom into a special retreat. It brings a little luxury to your daily life. Enjoy your remodeling project!


