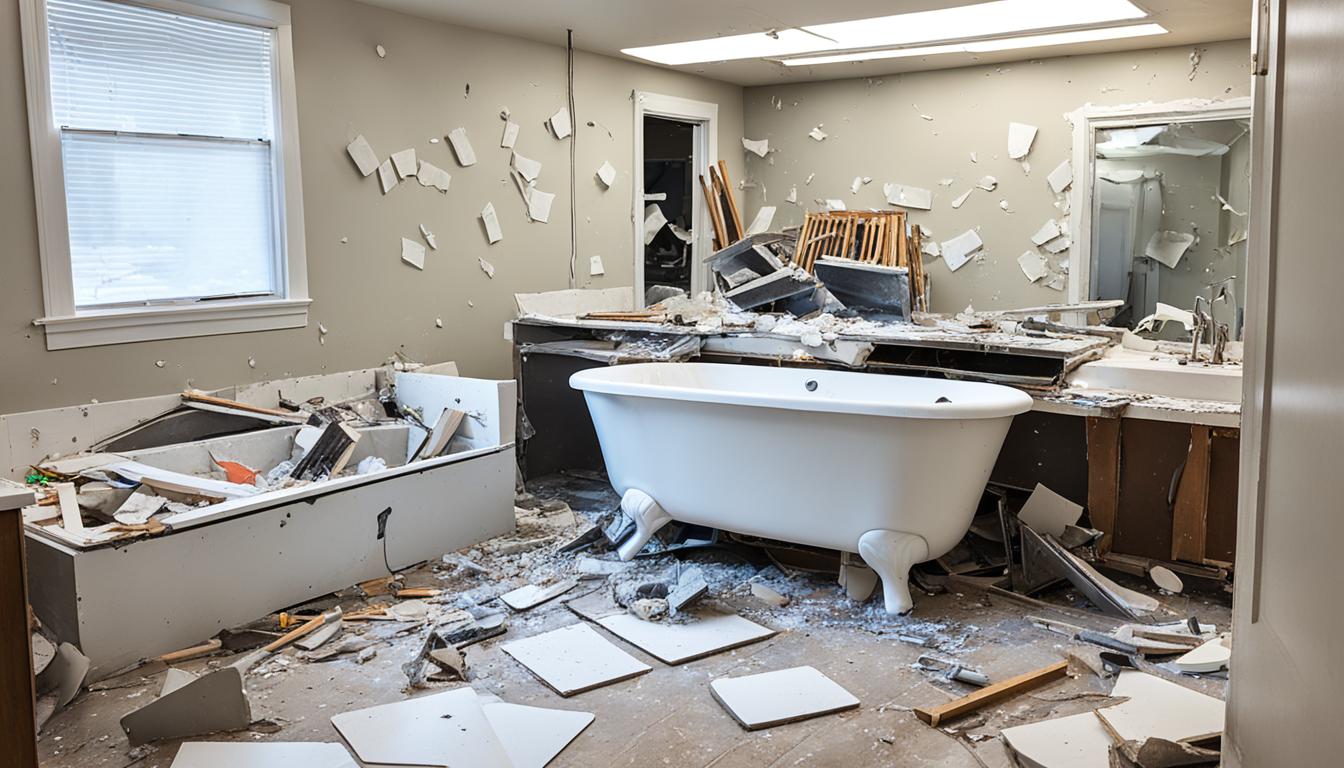
Have you thought about the potential of your outdated bathroom? Many homeowners dream of renovating their bathrooms into something beautiful. The first important step is gutting the bathroom. This lets you throw out the old and bring in the new for a completely personal remodel.
Tearing down to the studs might seem scary, but it’s doable with the right plan. Whether you want to change old tiles for new ones or replace your tub with a large shower, careful demolition is key. It helps make sure you get the bathroom you want.
Key Takeaways
- Bathroom demolition is critical for transforming your space.
- Planning and preparation are key.
- Simple tools and safety steps are important.
- Careful demolition allows for custom, modern designs.
- Doing this step with attention leads to the best remodeling results.
Preparing for Bathroom Demolition
Getting ready for a bathroom demo is key. It helps everything go smoothly, making it safer and damage-free.
Gathering Essential Tools and Supplies
First, collect the right tools like pliers, wrenches, and a reciprocating saw. You’ll also need safety gear such as tough gloves, goggles, and a mask. You can get these from a toolkit or rent them if you must.
Shutting Off Utilities
Keeping the work area safe is top priority. Begin by cutting off bathroom utilities. Turn off electricity and water to avoid mishaps or leaks. Always double-check everything is off for safety.
Ensuring Safety Precautions
Safety first is a golden rule. Dress in the right safety gear to shield against dust and rubble. This means wearing solid gloves, boots, goggles, and a mask. Clear the space, ventilate it well, and make sure to have your demolition permits.
By following these tips, the demo work will not only be smoother but also safe and effective.
Clearing Out the Space
Starting a bathroom renovation begins with emptying the space. This is essential for an orderly project. Remove all your personal things and decorations, making sure areas like the vanity and shelves are empty. This step not only gets the area ready but also helps you organize and declutter.
Removing Personal Items and Decorations
First, take out items like toiletries, towels, and decorations. Sort these, throwing away what you don’t need and keeping what you’ll use again. This step makes the bathroom more organized and sets the stage for the renovation.
Taking Down Shelves and Mirrors
Then, start removing wall attachments such as shelves and mirrors. Do this carefully, keeping items you can use again. Make sure to safely take down anything heavy or fragile. This is important to make sure the area is ready for the big changes coming.
Tearing Out the Vanity and Sink
Starting a bathroom renovation is a big step. Removing the vanity and sink the right way makes it easier. First, you need to disconnect the water supply lines.
Disconnecting Water Supply Lines
First, shut off the water to prevent any leaks. Next, detach the hot and cold water lines from the faucet. Catch any dripping water with a bucket below. This step helps avoid water damage during the renovation.
Removing the P-Trap and Drain
Start with the P-trap and drain pipes next. Loosen the P-trap’s slip nuts first. Keep a bucket handy to catch water from the pipes. After the P-trap is off, remove the drain assembly. This makes removing the vanity easier.
Disposal of Vanity Pieces
Once the vanity is free from the wall, take apart any securing parts. Vanities are heavy, so get help for this part. Then, properly throw away all pieces of the vanity. This keeps the work area tidy and helps your renovation go smoothly.
Removing the Toilet
Removing a toilet requires you to follow some important steps carefully. You need to pay attention to safety and how you dispose of the toilet. These guidelines will help make the process smooth and easy.
https://www.youtube.com/watch?v=b640BDK2wyg
Flushing and Draining the Toilet
Start demolishing your bathroom by turning off the water supply. This valve is often found behind the toilet. After turning the water off, flush the toilet to get rid of water in the tank and bowl. Use a sponge or a small cup to soak up any leftover water, ensuring everything is dry.
Detaching the Base and Tank
Once you’ve emptied the toilet, disconnect the inlet supply pipes using a wrench. If possible, carefully lift the tank from the base. Then, remove the bolts that hold the toilet base to the floor. You will see caps covering these bolts; take them off first. To loosen the toilet, rock it gently before lifting it away from the floor. Cut through any caulk around the base to protect your flooring.
Handling and Disposing of the Toilet
After removing the toilet, seal the drain hole with rags to block sewer gases. Disposing of the toilet properly is important. Renting a dumpster is a good option suggested by many demolition experts. Toilets are heavy and awkward to move, so be careful, especially if you’re doing a full bathroom teardown.
Tile and Flooring Demolition
When you renovate a bathroom, removing the tile and flooring is a crucial first step. You need patience, accuracy, and the right tools like a chisel, hammer, and pry bar. Following the right steps ensures your project goes smoothly.
Chipping Away Tiles
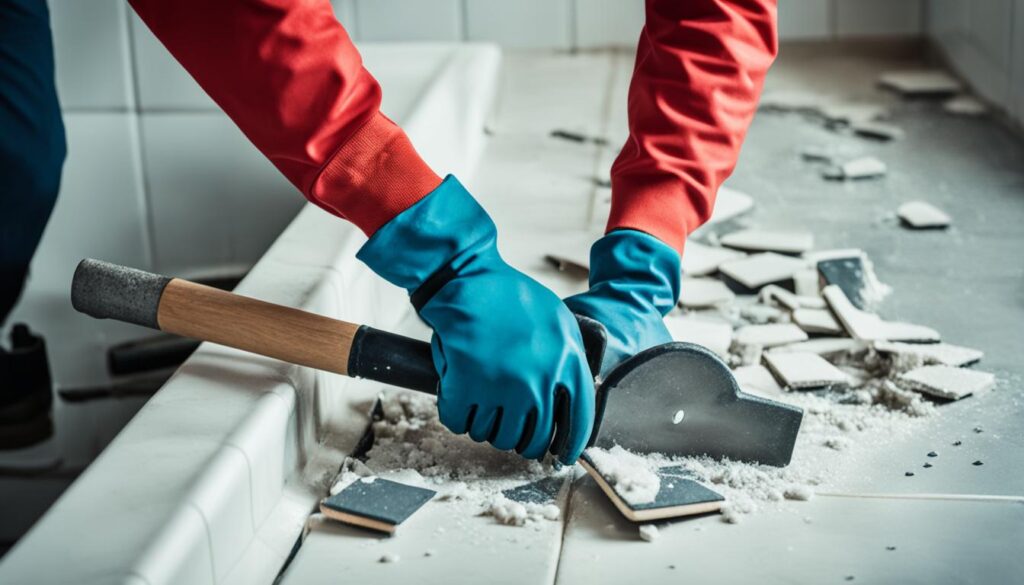
Removing tiles requires effort but is key for a successful job. Begin by placing a chisel at a tile’s edge. Then hit it with your hammer. Move slowly and carefully to avoid harming the surface below.
Removing Tile Backing Material
After the tiles are out, it’s time to tackle the backing material. This step is essential for preparing for what comes next. Use a pry bar to lift and get rid of this material. Make sure to clear all bits for a clean base.
Cleaning Up Debris
It’s important to keep the area clean as you work. Use a shop-vac to suck up debris and throw it in a rented dumpster. Cleaning as you go ensures safety and sets up the next renovation stages.
| Tool | Primary Use |
|---|---|
| Chisel | Chipping away tiles |
| Hammer | Striking the chisel |
| Pry Bar | Removing tile backing material |
| Shop-Vac | Cleaning up debris |
Bathtub and Shower Removal
Removing a bathtub or shower is a big part of tearing down a bathroom. You need to carefully unhook fixtures, maybe cut big pieces, and clean up well. Here’s a guide to help you:
Detaching Fixtures and Surrounds
Start by taking off any faucets, showerheads, and plumbing parts. Make sure the water is off to prevent leaks and damage. Remove tiles or panels around the tub or shower with care. It’s good to have someone help with lifting heavy stuff.
Cutting Larger Components
Sometimes, you’ll need to cut big parts of baths and showers into smaller pieces. Use the right tools, like a reciprocating saw, to do this safely. Remember to wear safety gear and keep the space well-aired. If it’s too much, think about hiring experts who know how to remove bathtubs smoothly.

Clearing Out the Debris
Once you’ve taken apart and cut everything, clean up the mess. Sort and get rid of the materials properly, keeping your work area neat. Remove big trash quickly to prepare for the next steps of your project. If needed, professional demolition teams can help get rid of the waste safely and quickly.
Dealing with Plumbing and Electrical
When you start demolishing a bathroom, it’s critical to handle plumbing and electrical safely. Before touching any plumbing fixtures, make sure to shut off water lines and cap exposed pipes. This stops leaks. Proper plumbing disconnection also guards against water damage while you’re working.
For electrical shut-off, first turn off the bathroom’s power. Then, carefully remove any electrical fixtures. Always ensure wires are taped and capped for safety. An electrical shut-off helps prevent dangerous accidents that can cause injuries or harm during the demo.
“Safety is paramount when handling plumbing and electrical systems. Consult with a professional if you’re uncertain to avoid personal injury or property damage.”
Getting the needed demolition permits is another key step. These permits not only keep you in line with local laws but confirm that you’ve properly addressed all safety actions, including for plumbing and electrical tasks.
| Preparation Steps | Key Actions |
|---|---|
| Plumbing Disconnection | Shut off water lines, cap exposed pipes |
| Electrical Shut-off | Turn off power, detach fixtures, tape and cap wires |
| Demolition Permits | Obtain necessary permits from local authorities |
Following these guidelines and seeking professional advice when needed ensures a safe and smooth bathroom demolition process.
Hiring Professional Demolition Contractors
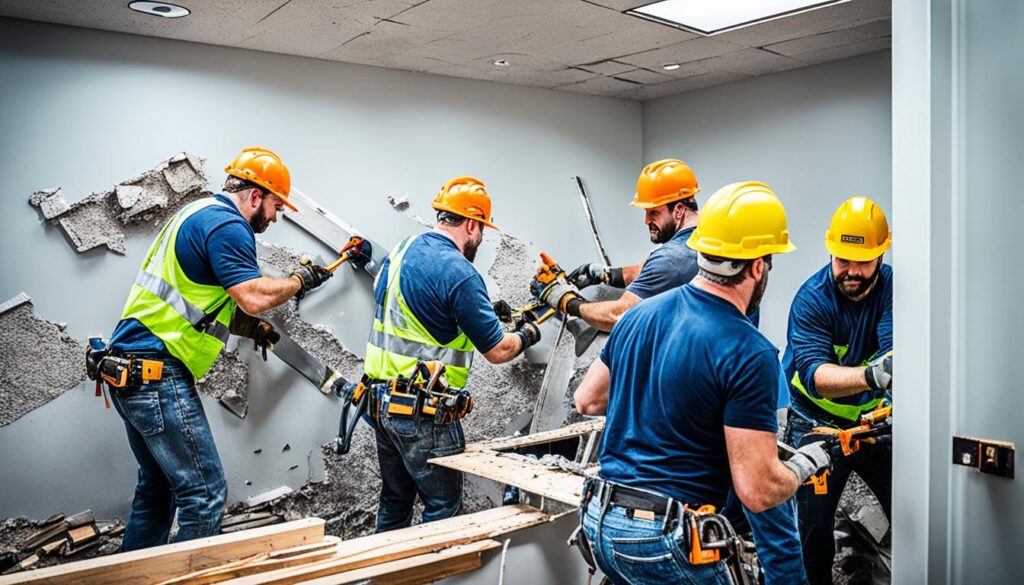
Some parts of bathroom demolition can be done by yourself. But, there are some cases where you need professional demolition contractors. Things like working with pipes and wires or taking down parts of the building need expert skills. These pros also manage demolition permits, making sure everything follows local rules.

Looking for professional demolition services means finding someone both licensed and insured. Checking their past work on bathroom projects helps know their skill and trustworthiness. Hiring pros makes the work smoother, safer, and more efficient.
| Aspect | DIY Demolition | Professional Services |
|---|---|---|
| Complex Plumbing | Risk of Damage | Expert Handling |
| Electrical Systems | Potential Hazards | Safety Assurance |
| Permit Requirements | Time-consuming | Managed Efficiently |
Conclusion
Your bathroom demolition project is the essential first step toward a new bathroom. Preparing well, getting the right tools, and knowing how to safely remove fixtures is key. These steps lay the groundwork for your bathroom remodel.
Whether doing it yourself or hiring professionals, how you demolish your old bathroom matters. It ensures a smooth rebuild and prevents problems. The care you take now makes a big difference in your remodeling project.
Moving forward with your renovation, the hard work in demolition pays off. You’ll see its worth in the beauty and function of your new bathroom. Embrace the process as you get closer to the bathroom of your dreams. It’s a space that will amaze you.


